Creating your first CyberApp
Important
Only Vendor Portal developers can create a CyberApp.
For more information about Vendor Portal account types, see Vendor Portal.
To create your first CyberApp
[If you are not already in Vendor Portal] Access Vendor Portal.
Select
 from the main menu.
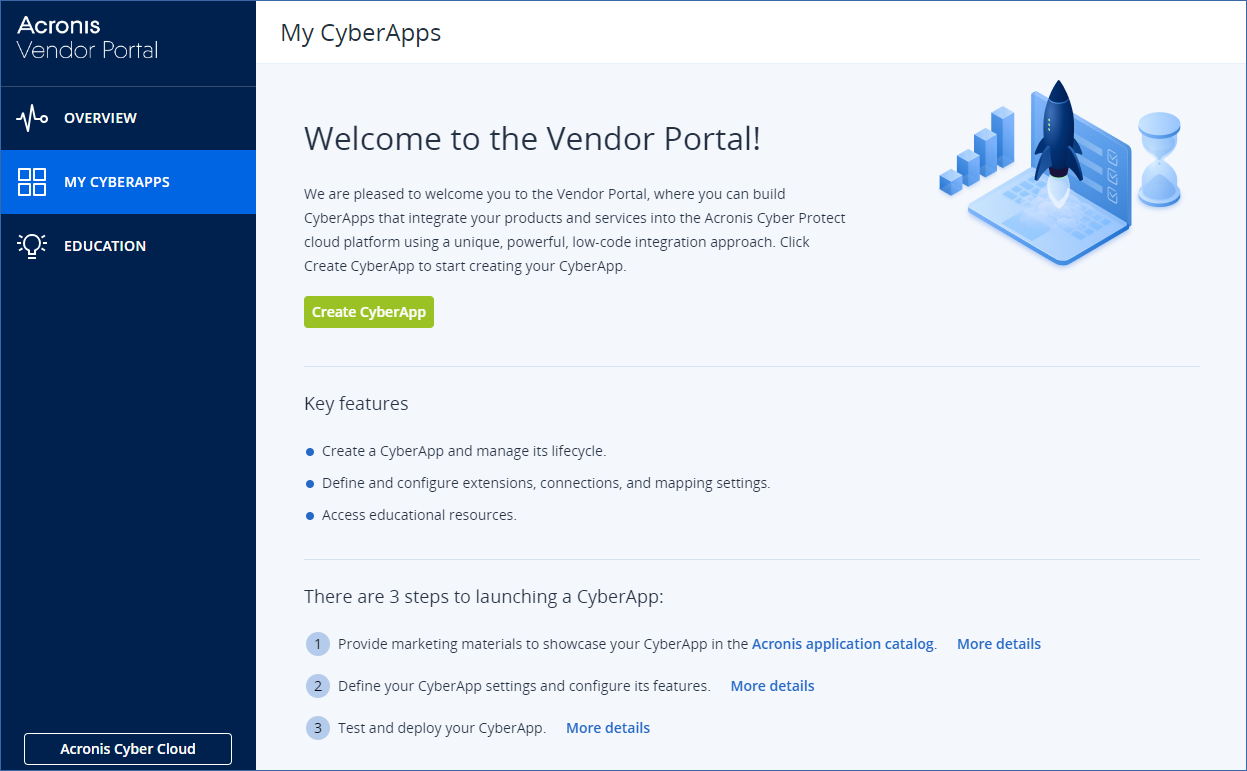
Click Create CyberApp.
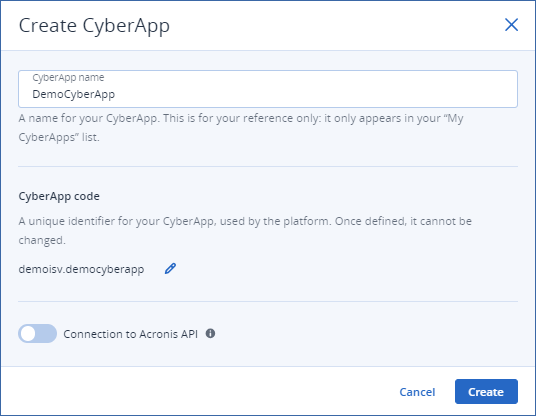
Enter a name for your CyberApp.
[Optional] Edit the CyberApp code.
Note
- The CyberApp code must be unique. It consists of two parts:
- Vendor IdUnique to your organization. Cannot be modified.
- CyberApp IdCyberApp name (in lowercase) is the default.
Click the
 icon.
icon.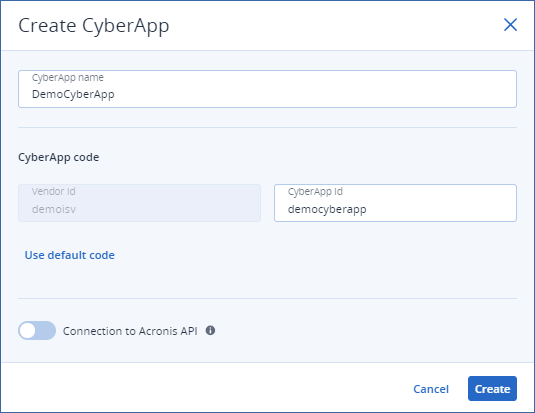
- Change the CyberApp Id part of the CyberApp code.To revert to the default, click Use default code.
[Optional] To access the Acronis API, turn on the Connection to Acronis API toggle switch.
Important
A connection to Acronis API is required to allow your CyberApp to push/pull data to/from the Acronis platform.
- Click Create.If you did not turn on the Connection to Acronis API toggle switch, your CyberApp is created.If you turned on the Connection to Acronis API toggle switch, Client ID and Secret credentials are generated.
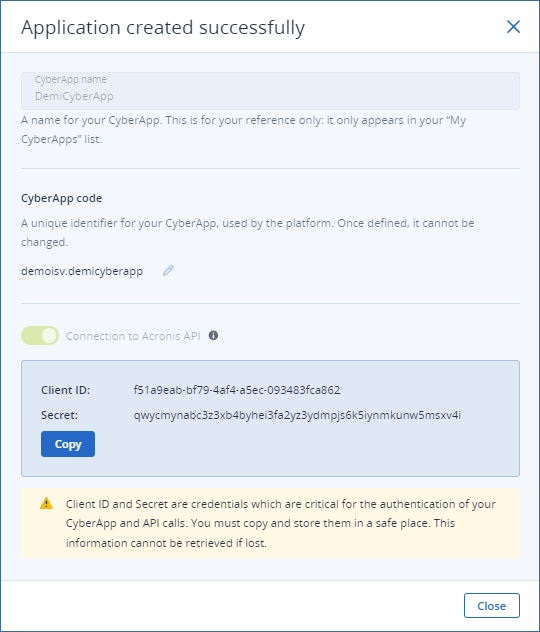
Important
Client ID and Secret are credentials that are critical for the authentication of your CyberApp and API calls.You must copy and store them in a safe place.This information cannot be retrieved if lost.Click Copy.
Paste the information in a file, and store the file somewhere safe.
Click Close.
You have created your first CyberApp.
You can now open it and start adding marketing materials to the CyberApp Description or start building your CyberApp Version.