Creating the connection setup form
To create the connection setup form
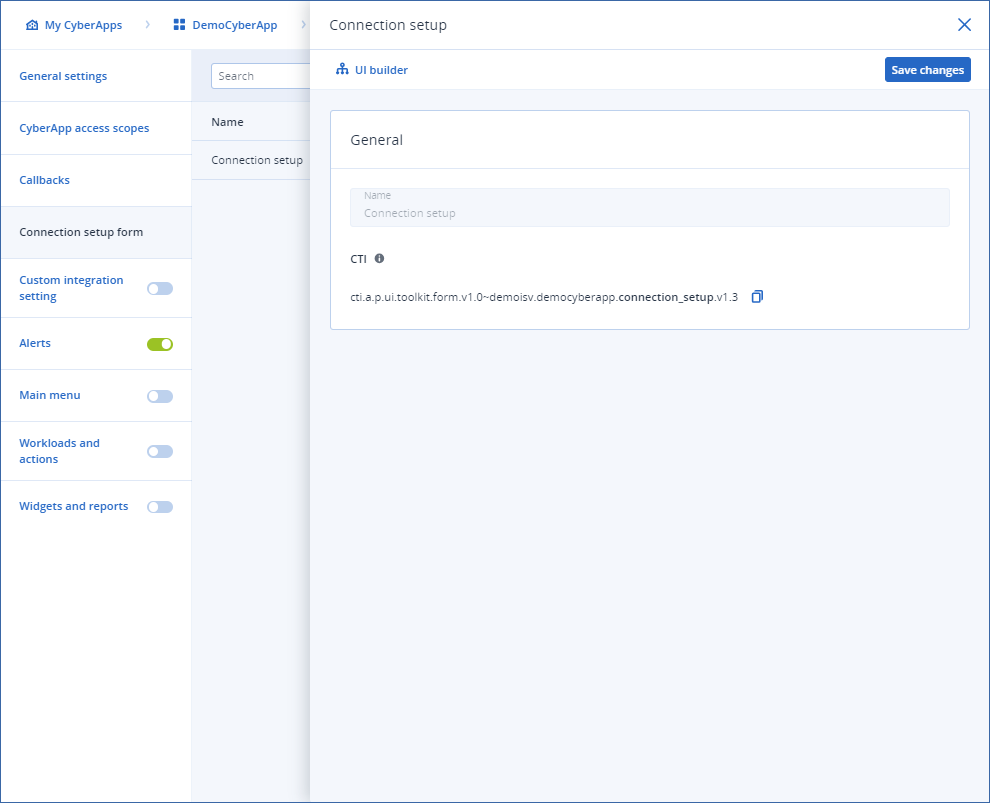
Select Connection setup form from the left sidebar.
Select Connection setup.
Note
There is only one connection setup form, so nothing is editable here.
Click
 to open the UI builder.
Build your connection setup form.
Note
Remember that connection setup forms automatically include:
The CyberApp name as the title of the form.
A Cancel button to close the connection setup form.
A Connect button to enable the CyberApp.
Drag elements from the UI element menu onto the canvas.
To set an element’s properties, select the element on the canvas and select the PROPERTIES tab in the configuration pane.
Note
For more information, see the details pages for the element types.
[Optional] To create dependencies for an element’s visibility, select the element on the canvas and select the VISIBILITY tab in the configuration pane.
Note
For more information, see element visibility.
[Optional] To set validation criteria for an element, select the element on the canvas and select the VALIDATION tab in the configuration pane.
Note
For more information, see element validation.
[Optional] To delete an element, select it and click
 .
.[Optional] To find out more about an element, select it and click
 .
.[Optional] To view a preview of your form, click
 .
.Note
At this point, you will not see the Cancel and Connect buttons. These are added automatically when deployed.
When you are finished, click Done.
Click Save changes.