Creating an action
Actions appear as entries in the Integrated App actions list in the DEVICES section of the Acronis Cyber Protect Cloud console.
You specify the workload types on which the user can perform the action: either native Acronis workload types or workload types defined in your CyberApp or a combination of both.
Note
If the Version is in the  state, you can create actions.
If the Version is any other state, you cannot.
For more information about Version states, see the Version approval section.
To create an action
Select Workloads and actions from the left-hand menu.
[If required] Click Enable to enable the extension point.
Select the ACTIONS tab.
Click Add action.
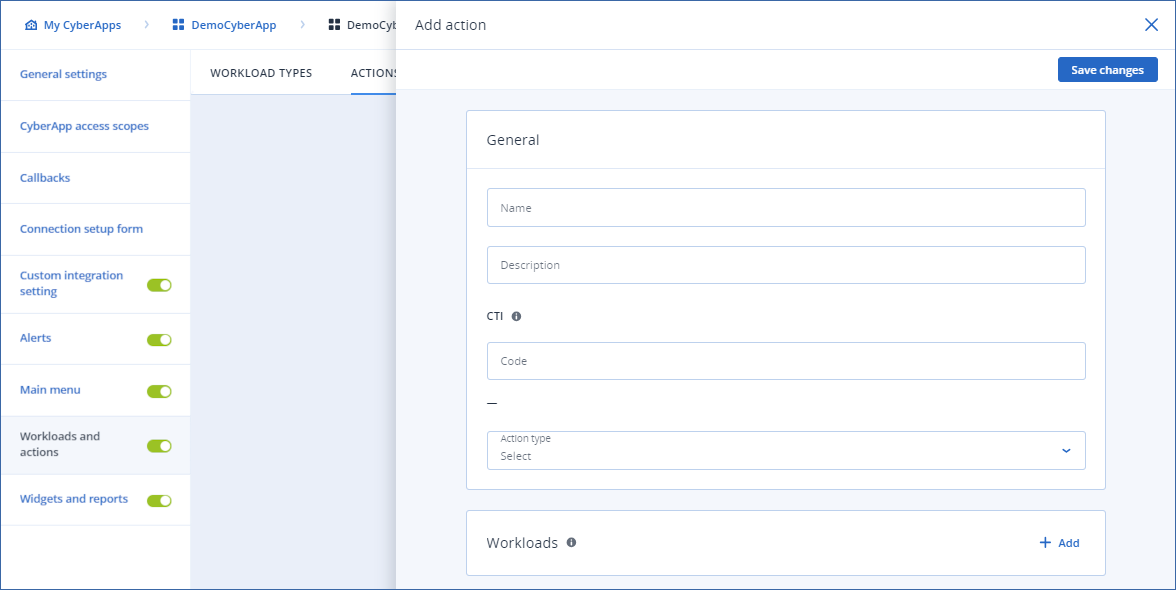
- Enter a Name for the action.This is displayed in the Integrated App actions list for workloads in the DEVICES section of the Acronis Cyber Protect Cloud console.
Enter a Description for the action.
Note
This is for your information only.It only appears in the list of Actions in Vendor Portal.Specify a unique Code for the action.
Note
For more information on CTI codes, see CTI.
Select the Action type from the dropdown:
- Open linkWhen you select this action type, you must enter the URL in the field provided.
Note
For more information, see Open link actions.
- Open popupWhen you select this action type, the
 icon appears at the top of the form.Click to create the popup and specify the data initializer callback.
Note
For more information, see Open popup actions.
In Workloads, choose the workload types for which the current action will be available.
Click
 to add a workload that offers this action.
Select a workload from the dropdown list.
Click
 to confirm the selection or
  to cancel.
Note
To delete a workload, click
 .
.[Optional] Repeat for each workload.
Click Save changes.