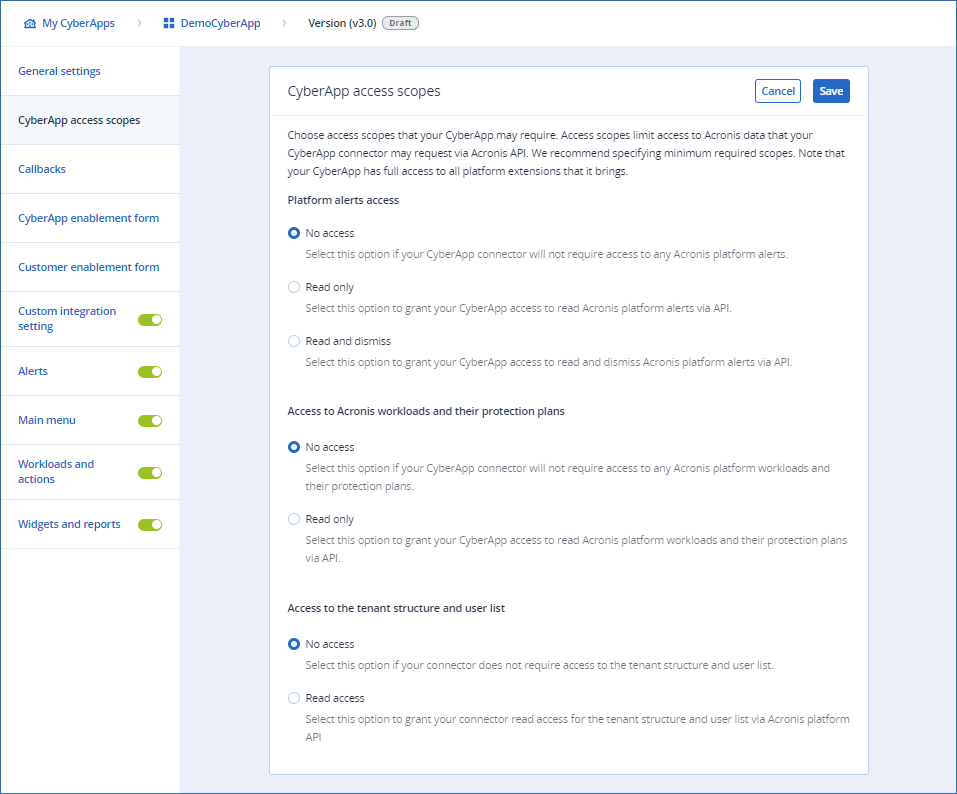
CyberApp access scopes
In this section, you can manage the CyberApp connector access to Acronis Cyber Platform data through the Acronis platform APIs.
Note
By default, a new, empty CyberApp Version gives the CyberApp connector no access to any Acronis Cyber Platform data.
To ensure that the connector only has access to the data it requires, we recommend that you grant the minimum possible for the CyberApp to work.
CyberApps have full access to the extension points that you define for them.
You can grant the connector access to:
- Platform alertsThese include both Acronis and integrated services platform alerts.
- Workloads and their protection plansWorkloads are data sources, such as physical and virtual hosts, databases, mailboxes, websites, etc., that can have Acronis protection plans applied to them.
- The tenant structure and user listThis includes tenant information, enabled services, and the user accounts available in the tenant.
Note
Read and write access to tenant structure and user list allows changing of existing tenant configurations, as well as creating new tenants and new users.
Selected tenant settings
Important
You can also grant access to Partner tenants. However, access to Partner tenants is considered excessive.
DO NOT GRANT THIS ACCESS UNLESS IT IS ABSOLUTELY NECESSARY FOR THE BUSINESS SCENARIO.
To edit access scopes
-
Note
If the Version is in the Draft state, and you have the appropriate Vendor Portal account type, you can open and edit the Version.Otherwise, you can only view the Version details.For more information on Version states, see Version approval process. Select CyberApp access scopes from the main menu.

Select the appropriate access scopes for each option.
[If required] Enable Provide access to Partner tenants.
Important
This is considered excessive. Do not grant this access unless it is absolutely necessary for the business scenario.
Click Save.