Creating a workload type
Note
To create a workload type
Click
 .
.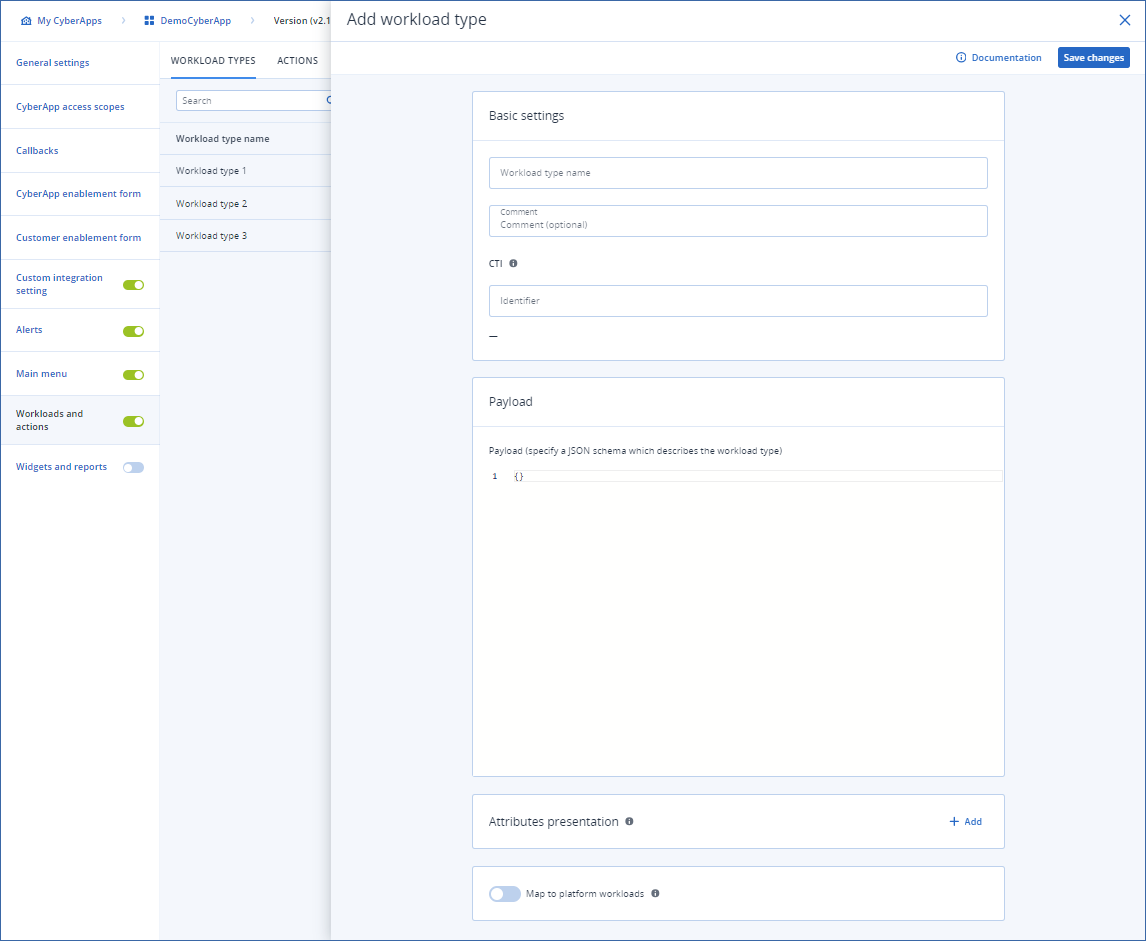
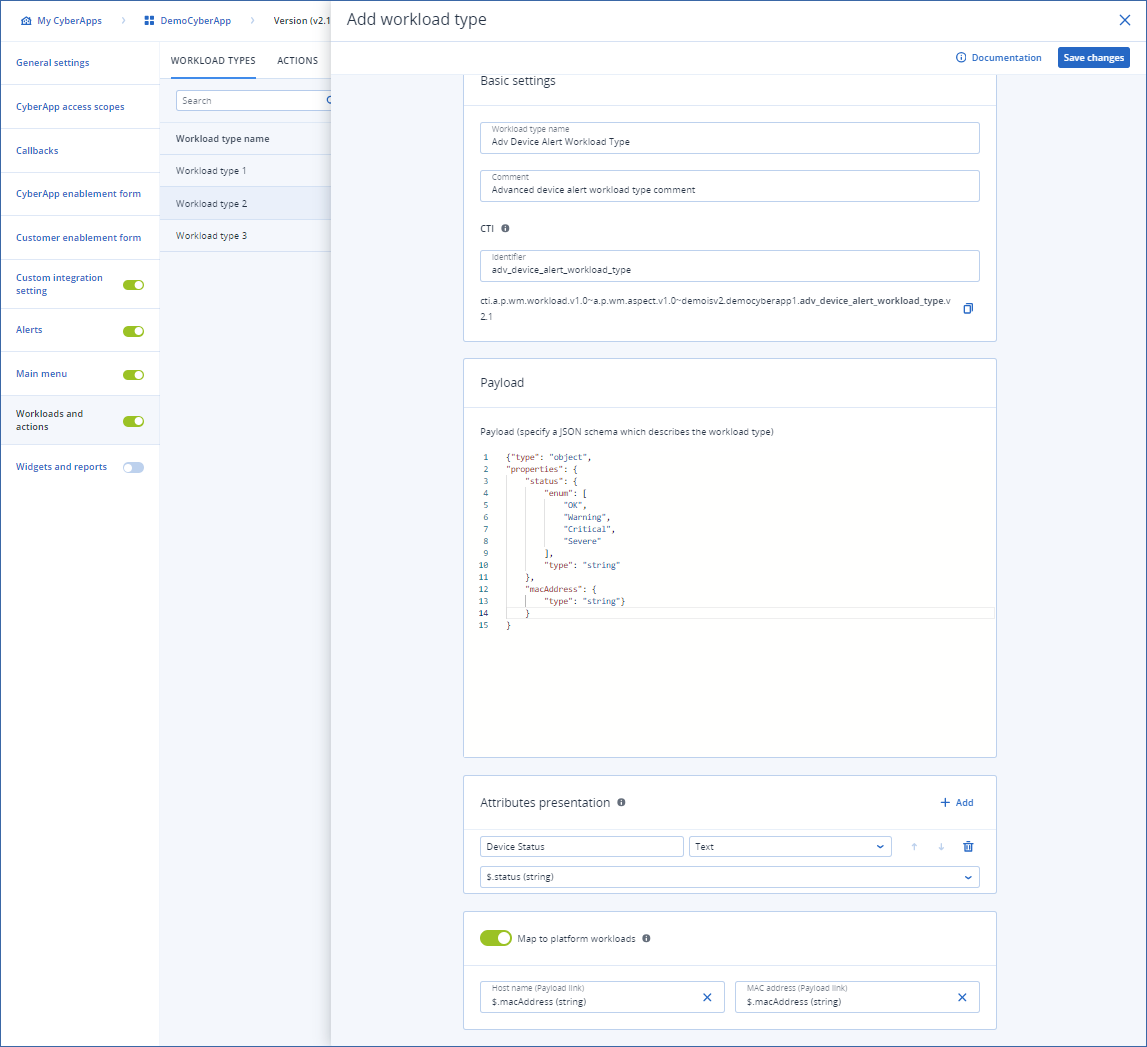
Enter a Workload type name.
[Optional] Enter a Comment for the workload type.
Specify a unique CTI identifier for your workload type.
Note
To send this workload, the connector must specify the CTI in the workload type field.For more information on CTI codes, see the CTI topic.In the Payload field, specify the JSON Schema of the workload attributes.
Note
You must specify the data structure of the attributes that apply to your workload.Attributes can include,hostname,MAC addressandIP address, hardware and software information, etc.Important
To create a device status widget, you must define at least one attribute that represents a workload status.To define such an attribute, you must use theenumkeyword when you define an object property.For example:{ "type": "object", "properties": { "status": { "type": "string", "enum": [ "OFFLINE", "ONLINE" ] } } }
- [Optional] Add one or more Attributes presentation.
Note
These determine how Acronis Cyber Platform displays the workload data.For more information on how Acronis Cyber Platform displays your workload data, see Widgets and reports.Important
To create a device status widget, you must define at least one attribute presentation for the attribute that represents a workload status.
For each attribute, specify:- A Name for the attribute.This is the attribute column title in the Cyber Protection console.
- The Data type of the attribute (text, date, time, datetime, byte size).This is the format of the attribute column in the Cyber Protection console.
- Select the corresponding field name from the Payload value dropdown.The dropdown is populated by the Payload JSON schema.
[Optional] Select Sortable if the column can be sorted by this value.
[Optional] Turn on the Map to platform workloads switch and select the Host name and MAC address from the dropdowns.
Note
This option allows the platform to perform automatic merging of your workloads with Acronis workloads based on matching host name and MAC address.The workload merging algorithm follows these rules:Hostname comparison is case-sensitive.
MAC address matching: Each MAC address reported by your CyberApp must be present in the list of MAC addresses reported by the Acronis agent.
Workload is not aggregated: The
aggregation_statusfield value must beNOT_AGGREGATED. Note that if the workload was split, it will have theSPLIT_MANUALLYaggregation status and will not be merged again automatically.
[Optional] Select a payload attribute that corresponds to the workload Host name.
[Optional] Select a payload attribute that corresponds to the workload MAC address.
Click Save changes.
Example